How To Install Ubuntu Server
How To Install Ubuntu Server
The first thing you need to do is download Ubuntu Server. You can find it here: Download Here
Next, you’ll want to put it onto a USB drive. A great and easy way to do this is by downloading Balena Etcher: Download Here

Once you open Balena Etcher, just drag and drop the ISO file. It handles the rest for you.
After that, restart your computer, plug in the USB drive, and access the boot menu (this is usually one of the F keys like F8).
If everything works correctly, you should see the Ubuntu Server start screen. If you don’t, something went wrong.
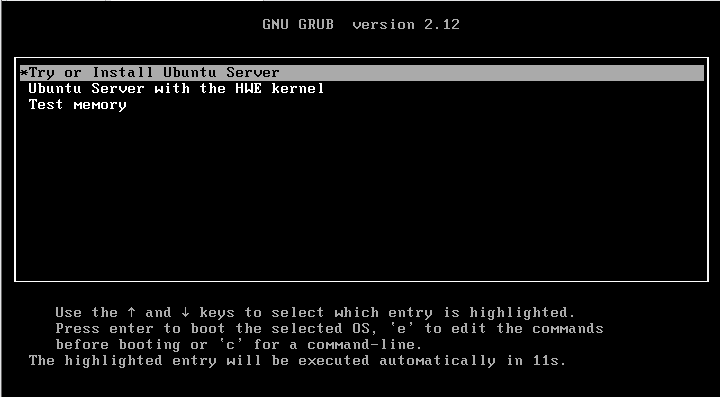
When you see this screen, press Enter.
Next, select your language.

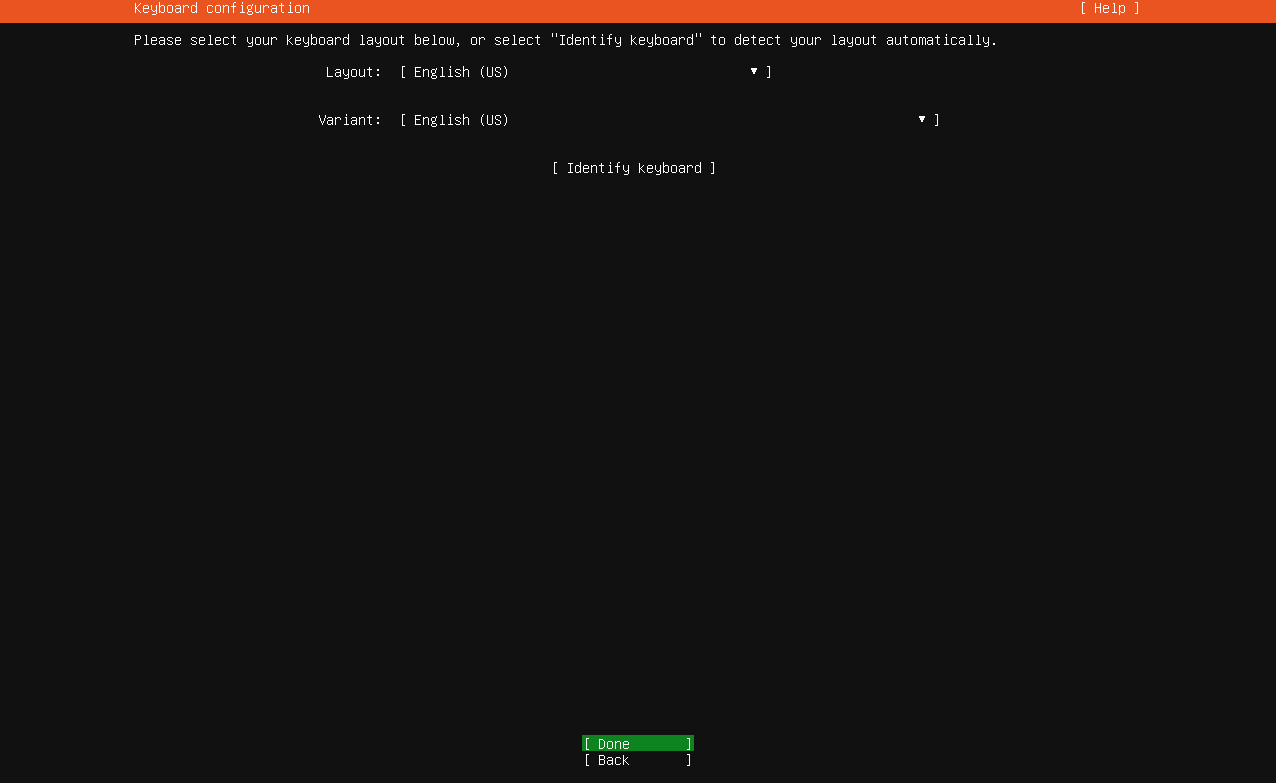
Make sure your keyboard layout is correct.
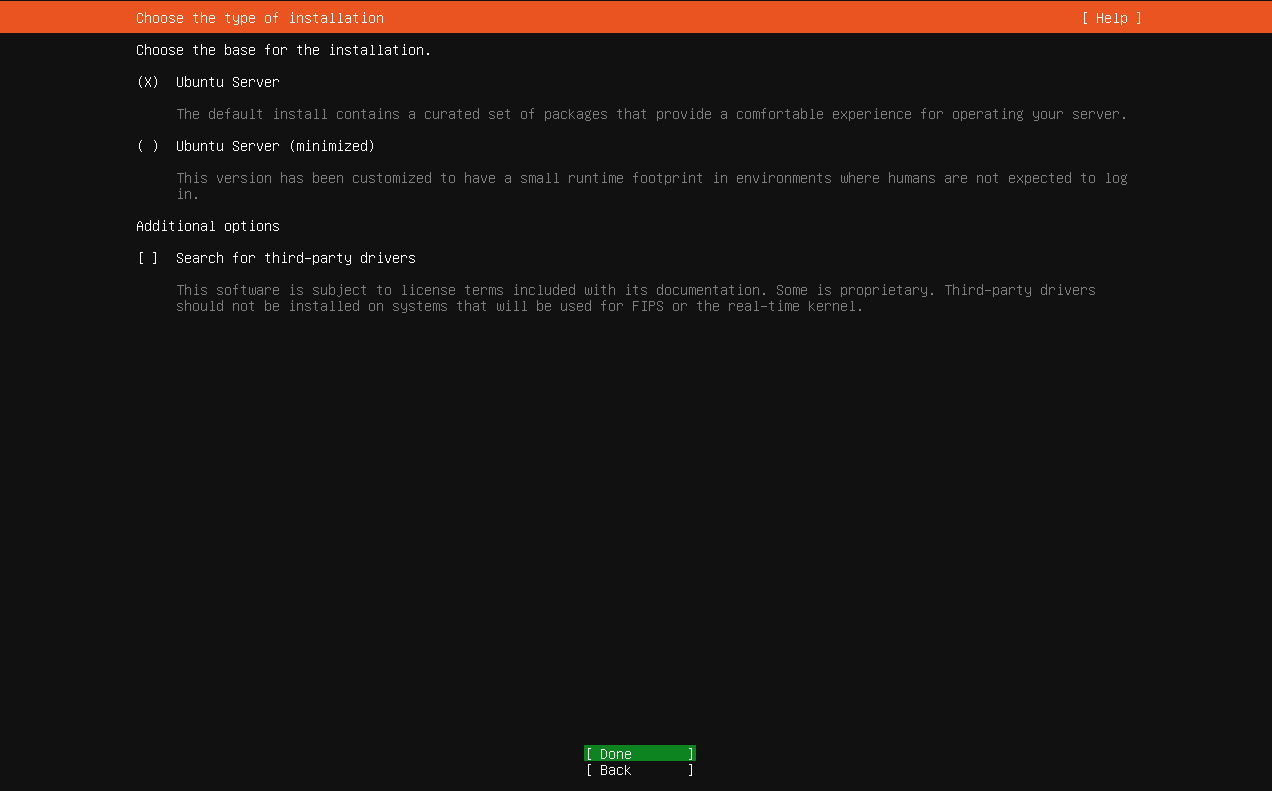
Now, select Ubuntu Server. For this guide, we don’t need the third-party drivers.
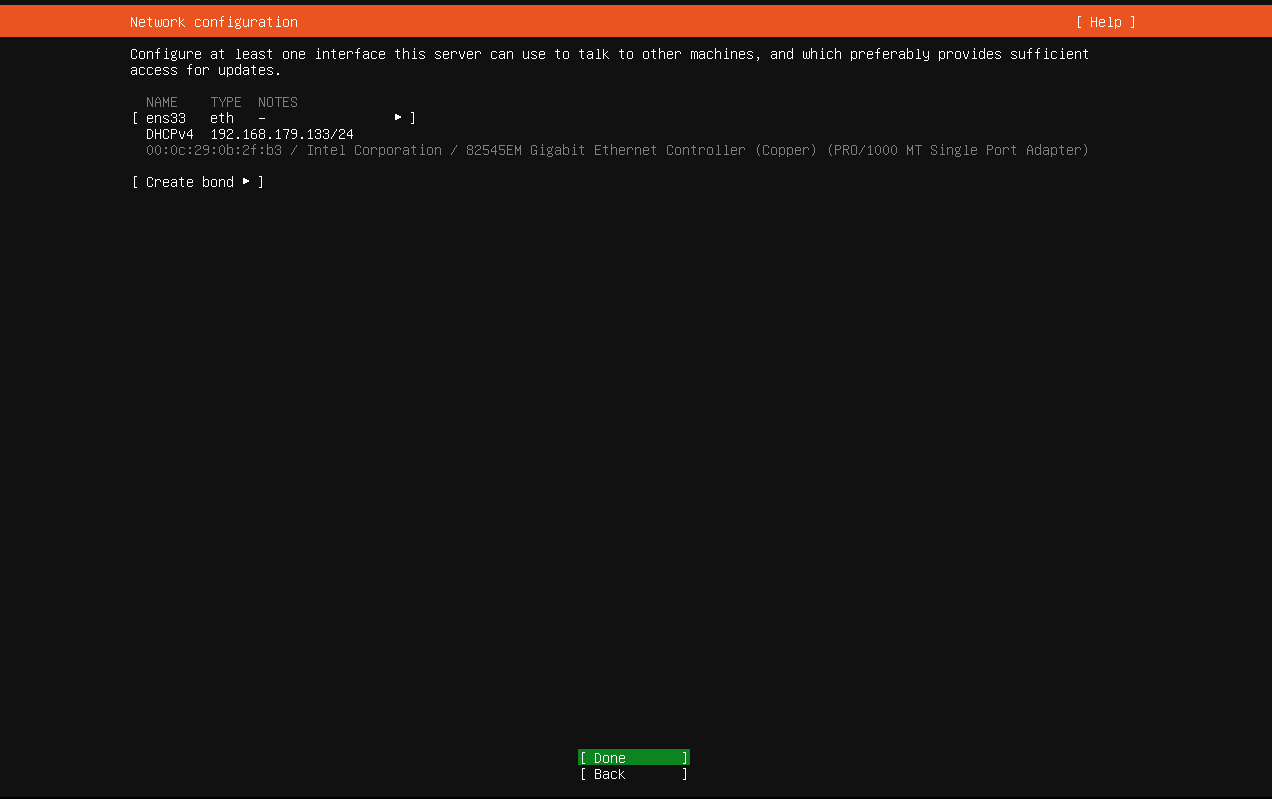
Ensure your system can access the internet and let it run a mirror test.
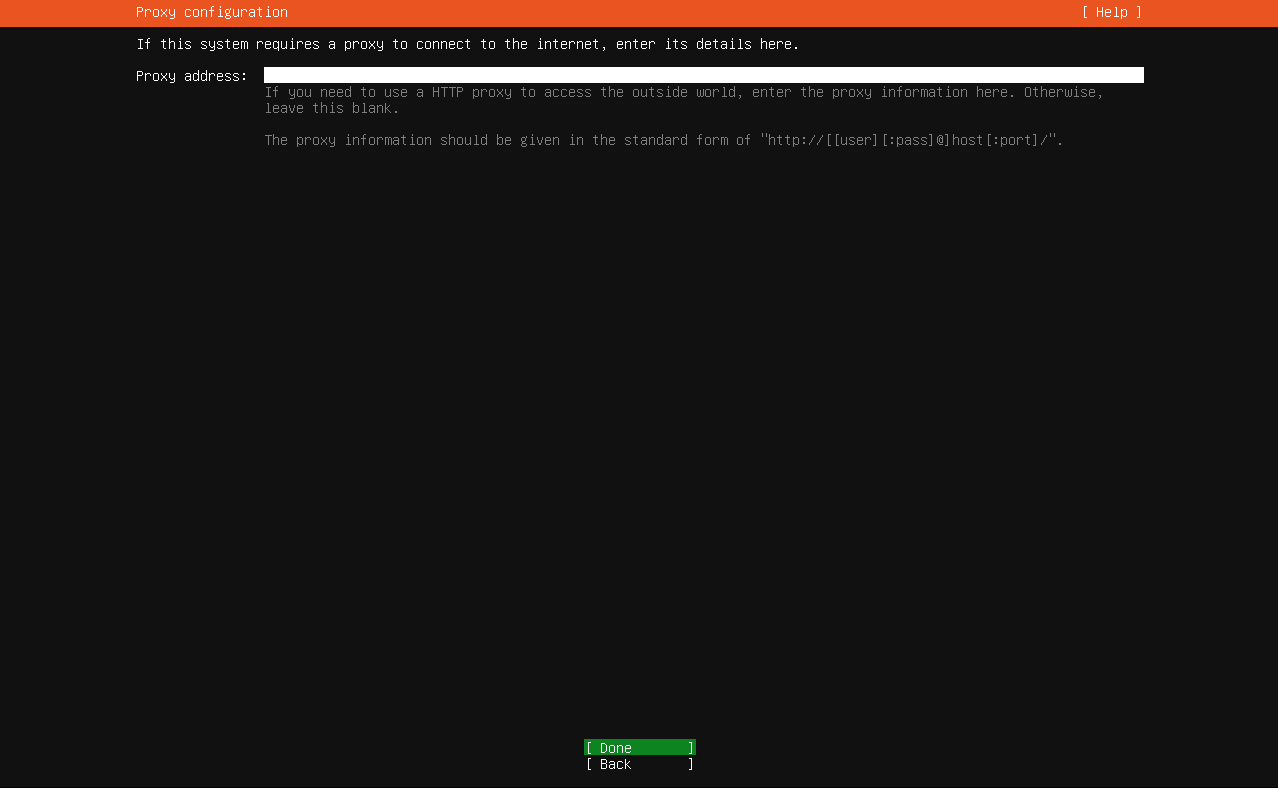
We are not using a proxy, so you can skip this step.
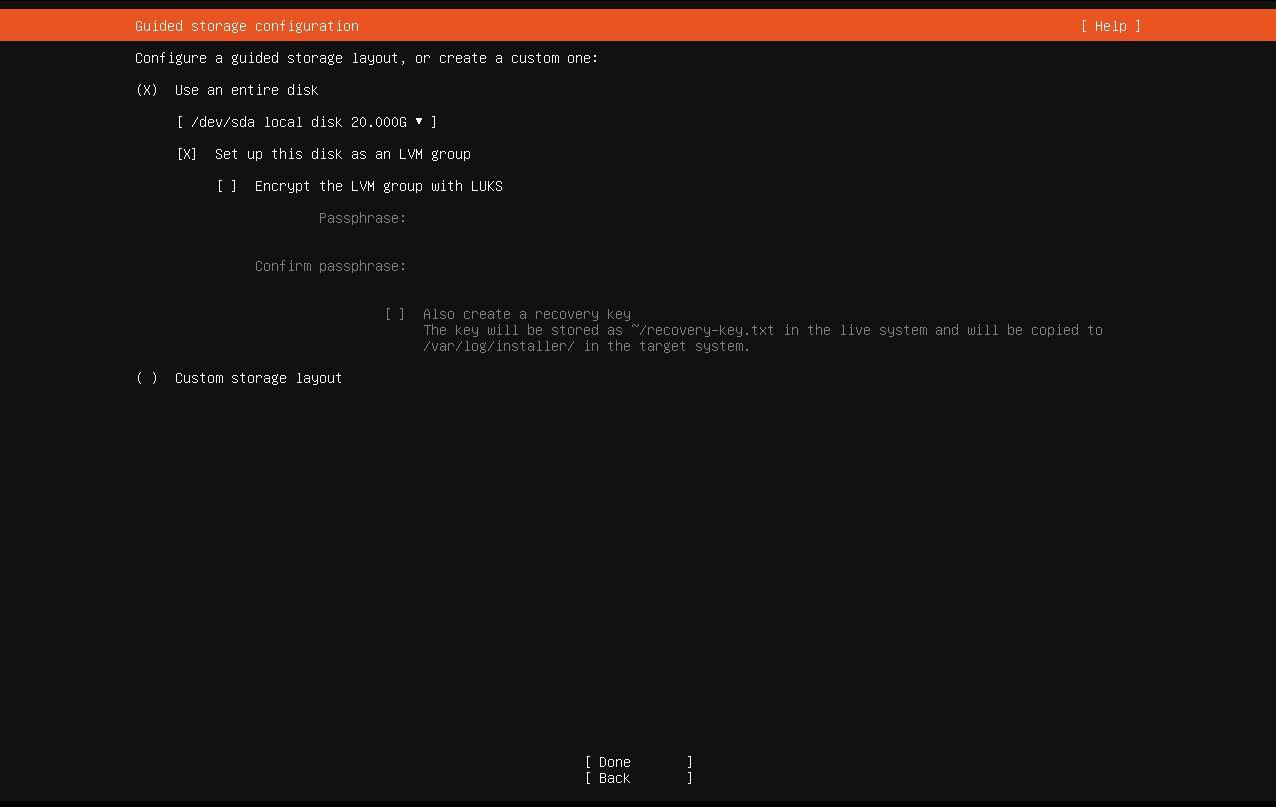
Set up your disk as you prefer.
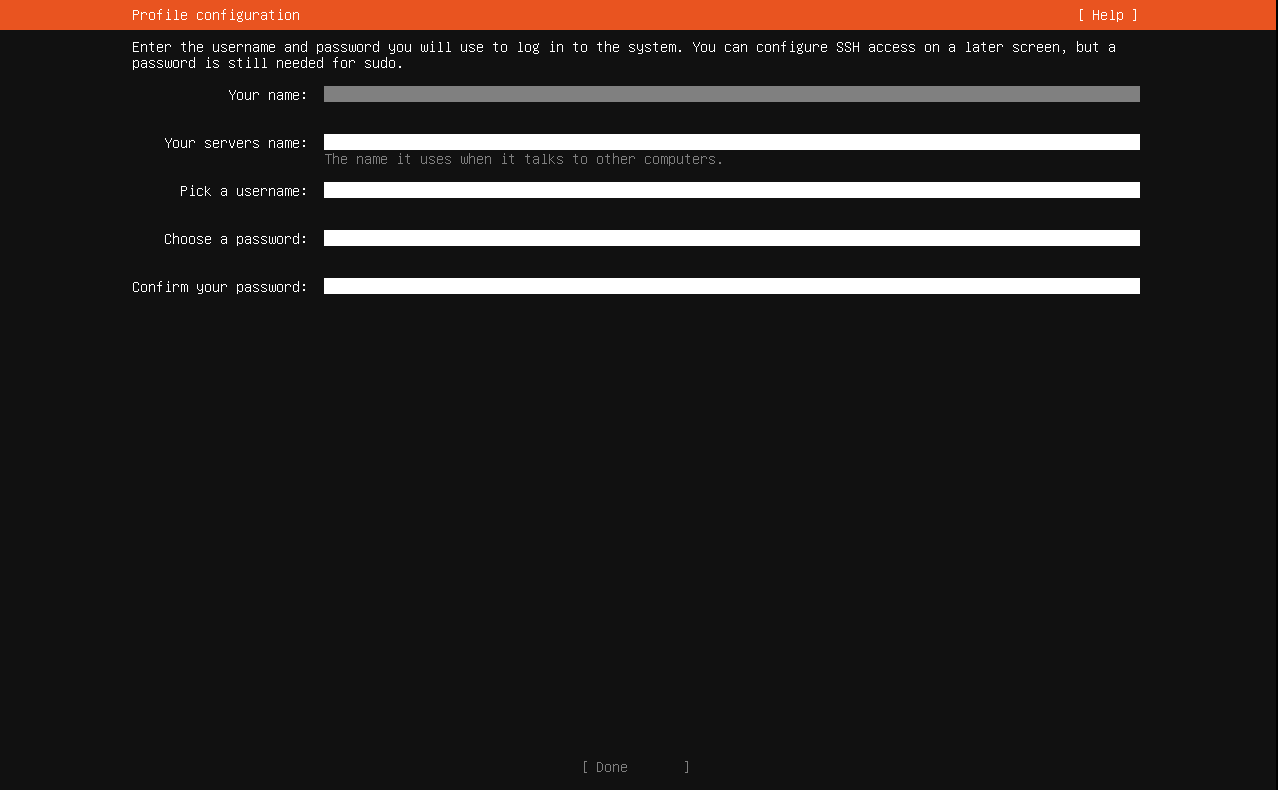
Create a username and choose a strong password.
You don’t need Ubuntu Pro, but it’s a nice option if you want it.

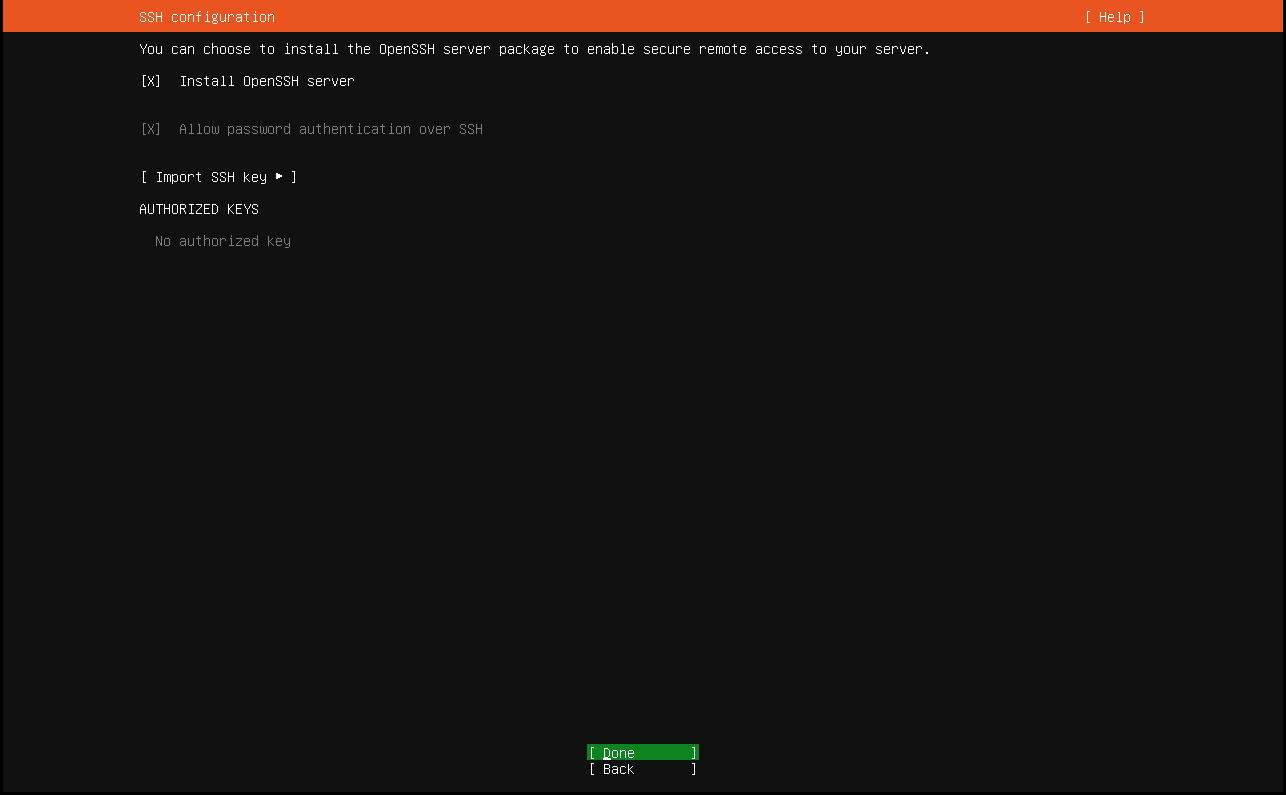
Make sure to enable OpenSSH so you can access the server remotely.
You can skip the optional features for now.
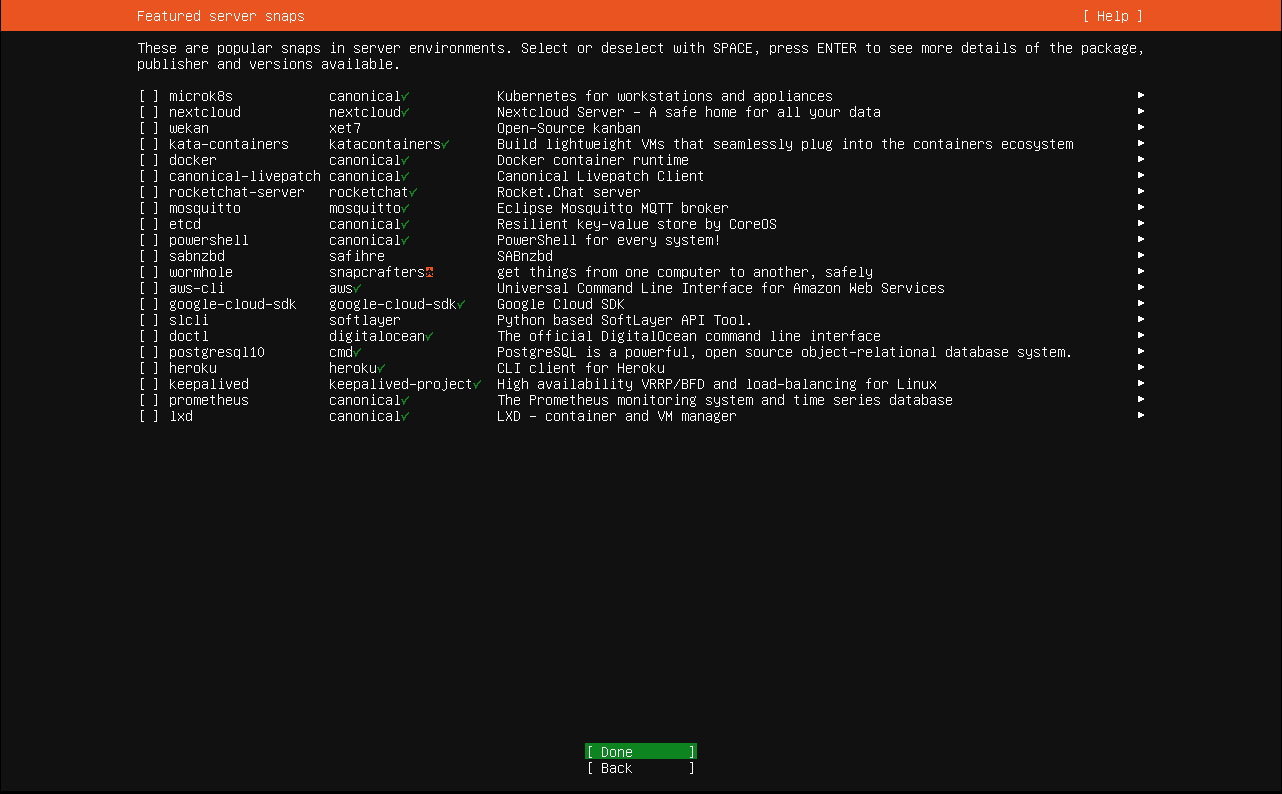
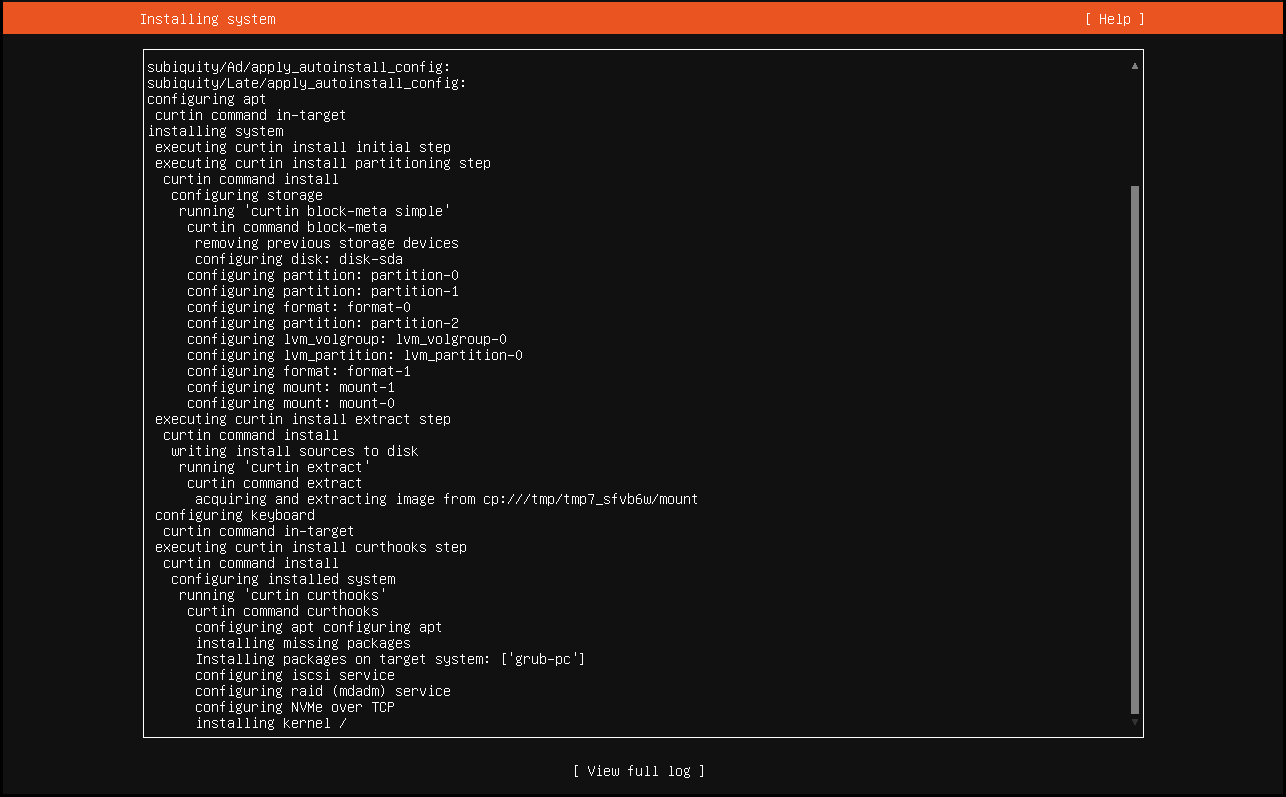
Now let it install!
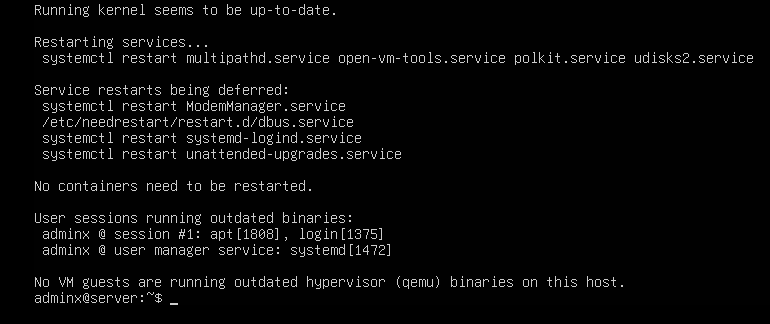
After installation, reboot the server. You should see something like this.

Log in with the username and password you set up.
Then run:
sudo apt update
sudo apt upgrade
This will get your server up to date.
Now run: ip a
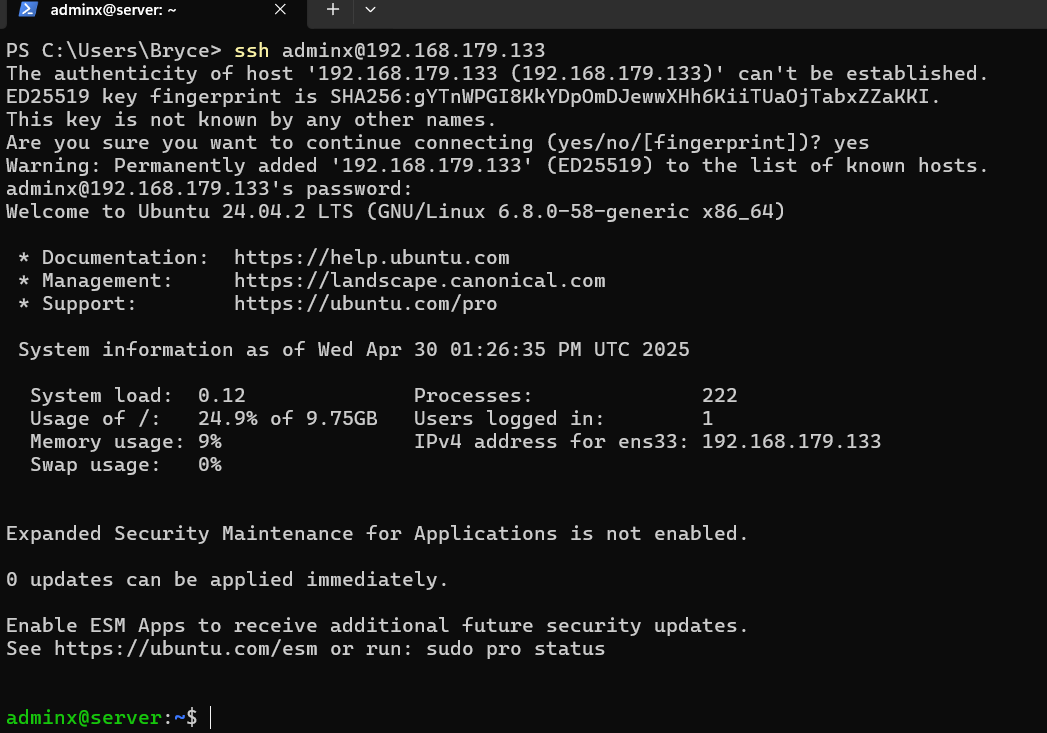
Find your server’s IP address. You can use it to connect to the server from another computer on the same network. If you’re using Windows Terminal to connect, use the format: username@ipaddress
If you connected successfully, you should see something like this!
All done now enjoy your Ubuntu Server